You have heard about CNC turning but have no idea where to start. Do not worry. This guide assumes you know nothing. You will learn what CNC turning is, how the machine works, what tools to use, and how to avoid crashing. By the end, you will understand the entire process from start to finish. No prior experience needed. Let us begin.
1. What Is CNC Turning?
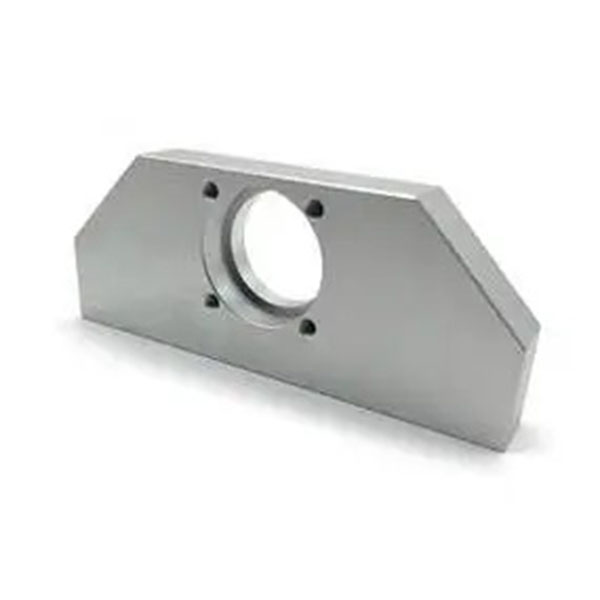
CNC turning is a way to make round parts using a computer-controlled machine. The machine spins a bar of metal or plastic. A sharp tool moves along the spinning bar. It shaves off material until the part has the right shape.
The simple definition
CNC stands for Computer Numerical Control. That just means a computer guides the tool instead of a person turning hand wheels.
Turning means the workpiece spins while the tool stays mostly still. This is different from milling, where the tool spins and the part stays still.
What parts can you make?
| Part Type | Examples |
|---|---|
| Shafts | Motor shafts, axles, pins |
| Fasteners | Bolts, screws, threaded rods |
| Bushings | Bearings, spacers, sleeves |
| Fittings | Pipe connectors, nozzles, valves |
CNC vs. manual turning
| Feature | Manual Lathe | CNC Lathe |
|---|---|---|
| Control | Hand wheels | Computer program |
| Accuracy | Depends on operator | Consistent, ±0.025 mm typical |
| Speed | Slower | Much faster |
| Skill needed | High for complex parts | Learn once, repeat forever |
Real-world example: A manual machinist takes 20 minutes to make a threaded shaft. A CNC lathe makes the same part in 3 minutes. The 100th part matches the first perfectly.
2. How Does CNC Turning Work?
The process has five simple steps. Here is the beginner-friendly version.
Step-by-step flow
- Design — Create a drawing or 3D model of your part.
- Program — Convert the design into G-code (the machine’s language).
- Setup — Load material into the chuck. Install tools in the turret.
- Run — Start the program. The machine does the cutting automatically.
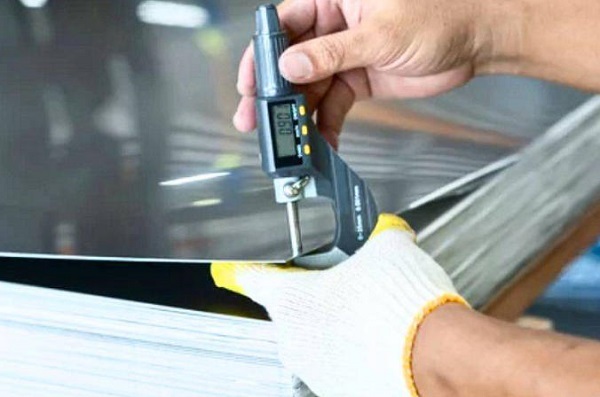
- Measure — Check the finished part. Adjust if needed.
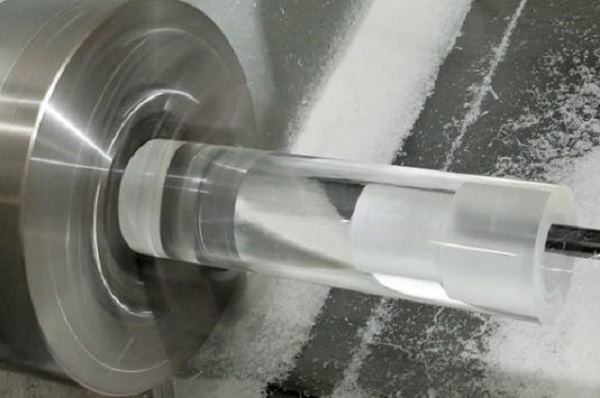
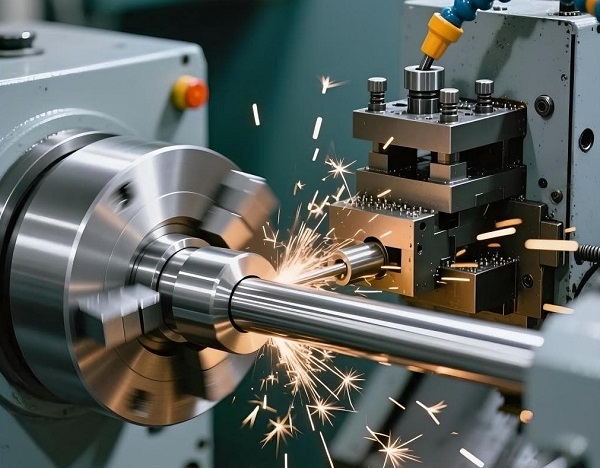
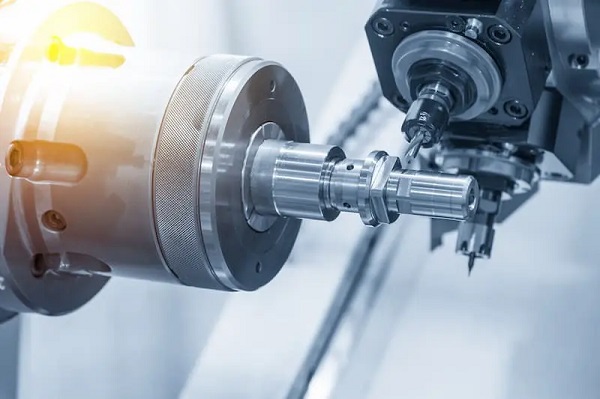
What happens during cutting
The spindle spins the workpiece at high speed. The tool turret moves the cutting tool along the X and Z axes. The tool touches the spinning material and peels away a thin layer. Coolant sprays on the cut to reduce heat and wash away chips.
3. What Are the Main Parts of a CNC Lathe?
You need to know these parts. They appear in every CNC turning machine.
The essential components
Spindle — The motor that spins the workpiece. Speed ranges from 50 RPM to 8,000 RPM depending on the machine.
Chuck — Clamps the material. Most beginners use a 3-jaw chuck. It grips round bars automatically.
Tool turret — Holds multiple cutting tools. It rotates to bring the right tool into position.
X-axis — Moves the tool in and out. This controls the diameter of your part.
Z-axis — Moves the tool left and right. This controls the length.
Tailstock — Supports long parts. It slides along the bed and presses against the end of the workpiece.
Control panel — The computer screen and buttons. You load programs and set offsets here.
Coolant system — Sprays fluid on the cut. It cools the tool and flushes chips away.
A quick mental picture
Imagine a potter’s wheel. The clay spins. Your hands move along the clay to shape it. A CNC turning machine works the same way. The chuck is the wheel. The cutting tool is your hands. The computer tells the tool exactly where to move.
4. What Basic Operations Will You Use?
Every CNC turning job uses these seven operations. Learn them one at a time.
The essential seven
| Operation | What It Does | When to Use |
|---|---|---|
| Facing | Cuts the end flat | Every part needs a clean end |
| Straight turning | Makes a smooth cylinder | Creating shafts or pins |
| Taper turning | Makes angled surfaces | Cones or tool holders |
| Grooving | Cuts narrow slots | For O-rings or snap rings |
| Parting | Cuts off the finished part | Separating from bar stock |
| Boring | Enlarges a hole | Precision internal diameters |
| Threading | Cuts screw threads | Bolts or threaded fittings |
Practice order for beginners
Start with facing. Then straight turning. Then grooving. Then parting. Leave threading and boring for later. Master the easy ones first.
5. What Materials Can You Cut?
Beginners should start with easy materials. Save the hard ones for later.
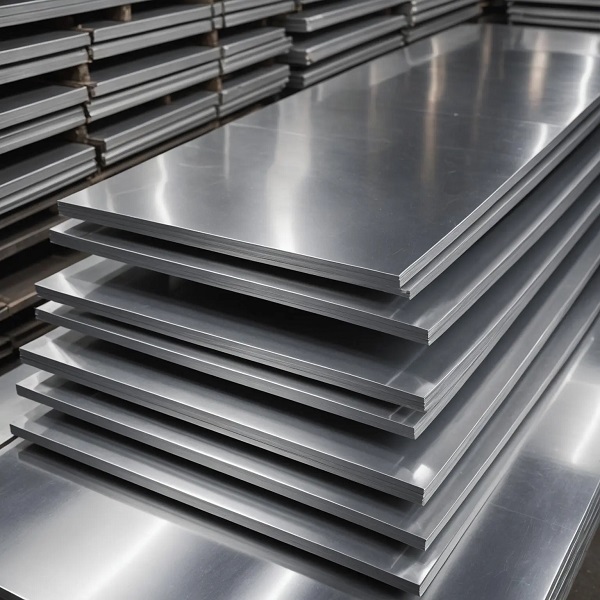
Best materials for learning
Aluminum — Very easy to cut. Use fast speeds and sharp tools. Great for practice.
Mild steel (1018, 12L14) — Forgiving and widely available. Good for learning feeds and speeds.
Brass — Cuts easily but can be expensive. Produces a beautiful finish.
Plastics (Delrin, Nylon, PVC) — Very easy but needs sharp tools. No coolant needed.
Materials to avoid as a beginner
| Material | Why Avoid |
|---|---|
| Stainless steel | Work-hardens. Beginners break tools. |
| Titanium | Very hard. Needs special speeds. |
| Hardened steel (over HRC 40) | Requires ceramic or CBN inserts. |
| Inconel | Extremely tough. Advanced material only. |
Pro tip: Buy a 1-meter bar of 12L14 steel or 6061 aluminum for practice. Both are cheap and forgiving. You will break fewer tools.
6. What Tools Do Beginners Need?
You do not need a full toolbox. Start with these five tool types.
Beginner tool kit
Turning tool (roughing) — Removes material fast. Use a CNMG or WNMG insert.
Turning tool (finishing) — Creates smooth surface. Use a smaller nose radius than roughing.
Grooving/parting tool — Cuts slots and cuts off parts. A 3mm wide blade is a good start.
Boring bar — For internal holes. Start with a 12mm or 16mm bar.
Threading tool — For external threads. A 60-degree insert works for most threads.
Understanding insert grades
Inserts are the replaceable cutting tips. For beginners, use uncoated carbide or TiN-coated carbide. Both are affordable and work on steel and aluminum.
Nose radius explained
The nose radius is the rounded tip of the insert.
- Small radius (0.2–0.4 mm) — Good for fine details. More likely to chatter.
- Medium radius (0.4–0.8 mm) — Best for beginners. Strong enough. Finish is good.
- Large radius (0.8–1.2 mm) — Very strong. Smooth finish. Not for small parts.
Start with 0.4 mm nose radius. It works for almost everything a beginner makes.
7. What Are Speeds and Feeds?
This is the most important setting on any CNC turning machine. Get it wrong, and you break tools. Get it right, and parts come out perfect.
The three numbers explained simply
Speed (RPM) — How fast the workpiece spins. Soft materials like aluminum spin fast. Hard materials like steel spin slower.
Feed (IPR or mm/rev) — How fast the tool moves into the part. Roughing uses faster feed. Finishing uses slower feed.
Depth of cut — How deep the tool cuts each pass. Roughing takes deep cuts (2–4 mm). Finishing takes shallow cuts (0.2–0.5 mm).
Beginner starting points
| Material | Speed (SFM) | Feed (IPR) Rough | Feed (IPR) Finish |
|---|---|---|---|
| Aluminum (6061) | 800–1000 | 0.012 | 0.006 |
| Mild steel (1018) | 400–500 | 0.010 | 0.005 |
| Brass | 500–700 | 0.010 | 0.005 |
| Plastic (Delrin) | 600–800 | 0.012 | 0.006 |
How to calculate RPM
RPM = (SFM × 3.82) ÷ Diameter (inches)
Example: Cutting 1-inch diameter steel at 450 SFM.
RPM = (450 × 3.82) ÷ 1 = 1,719 RPM
Start with the numbers above. Then adjust based on results.
8. What Is G-Code?
G-code is the language of CNC turning machines. You do not need to write it from scratch. But you must recognize the basic commands.
Essential G-codes for beginners
| Code | Meaning | What It Does |
|---|---|---|
| G00 | Rapid | Moves tool fast without cutting |
| G01 | Linear feed | Moves tool while cutting |
| G96 | Constant surface speed | Keeps SFM constant as diameter changes |
| G97 | Constant RPM | Keeps RPM fixed |
| G99 | Feed per revolution | Feed rate tied to spindle speed |
Essential M-codes
| Code | Meaning | What It Does |
|---|---|---|
| M03 | Spindle on forward | Starts spindle clockwise |
| M05 | Spindle stop | Stops spindle |
| M08 | Coolant on | Turns on coolant |
| M09 | Coolant off | Turns off coolant |
| M30 | Program end | Stops program and rewinds |
A simple example
G96 S500 M03      (Constant surface speed 500 SFM, spindle on)
G99 G01 X-1.0 F0.010  (Feed per revolution, cut to X-1.0 at 0.010 IPR)
M05               (Spindle stop)
M30               (Program end)
Do not memorize everything. Just learn to read these codes. CAM software writes them for you.
9. How Do You Set Up a CNC Lathe?
Setup is where beginners make mistakes. Follow this checklist every time.
The beginner setup checklist
- Load the material — Insert bar stock into the chuck. Leave enough length for your part plus parting tool width.
- Install tools — Mount turning tool, grooving tool, and parting tool in the turret.
- Set tool offsets — Touch each tool to the material. Record the X and Z positions.
- Set work zero — Tell the machine where the part starts. Usually the face of the part is Z zero.
- Load the program — Transfer G-code to the control.
- Dry run — Run the program with no material. Watch for crashes. Use single-block mode at 10% feed.
- Run the first part — Cut the part. Measure everything. Adjust offsets if needed.
The dry run rule
Never skip the dry run. It takes two minutes. It saves thousands of dollars in crash repairs.
10. What Safety Rules Must You Follow?
CNC turning machines are powerful. Respect them. Follow these rules every time.
The five golden rules
- Never reach into a running machine. Wait for the spindle to stop completely.
- Keep the door closed during cutting. Chips fly at high speed.
- Wear safety glasses even with the door closed.
- Remove the chuck key immediately after use. A chuck key left in the chuck becomes a missile.
- Stop the machine before measuring. Never measure a spinning part.
Common beginner safety mistakes
- Forgetting to close the door
- Reaching in to clear chips while the spindle is on
- Leaving the chuck key in the chuck
- Wearing gloves near rotating parts (gloves get pulled in)
Real-world example: A beginner left the chuck key in the chuck. He started the spindle. The key flew out and hit the door. It left a dent. A few inches higher, it would have hit his face. Never leave the key in the chuck.
11. What Mistakes Do Beginners Make?
Learn from others. Avoid these common errors.
Top five beginner mistakes
| Mistake | Consequence | Prevention |
|---|---|---|
| No dry run | Tool crashes into chuck | Always dry run |
| Wrong speeds/feeds | Broken inserts, bad finish | Use starting numbers from this guide |
| Forgetting coolant | Overheated tool, short life | Check coolant before every run |
| Too much tool overhang | Chatter, poor finish | Keep overhang under 4x tool height |
| Not measuring first part | Scrap entire batch | Measure first part before running more |
The offset mistake
Many beginners forget to set tool offsets correctly. The machine thinks the tool is somewhere it is not. Result? Crashes or wrong sizes.
Fix: Set offsets slowly. Double-check each one. Run a dry run at slow feed to verify.
12. How Do You Go from Beginner to Pro?
CNC turning is easy to learn but takes practice to master. Here is your path forward.
The three-month learning plan
Month 1: Learn setup. Make simple shafts with facing, straight turning, and grooving.
Month 2: Add parting and taper turning. Learn to read G-code. Start using CAM software.
Month 3: Learn boring and threading. Make a complete part with multiple operations.
Skills to master in order
- Machine setup and offsets
- Facing and straight turning
- Grooving and parting
- Speeds and feeds adjustment
- Taper turning
- Boring
- Threading
- CAM programming
Resources for continued learning
- YouTube: Search “CNC turning beginner” for video tutorials
- Practice parts: Make chess pieces, bottle openers, or model engine parts
- Forums: Practical Machinist and CNC Zone have beginner sections
- Classes: Local community colleges often offer CNC courses
Conclusion
CNC turning is a simple idea. Spin a part. Move a tool. Remove material. But doing it well takes knowledge and practice. Start with the basics: learn the machine parts, master the seven operations, use the right speeds and feeds, and always dry run. Avoid beginner mistakes by following the checklists in this guide. Practice on easy materials like aluminum or mild steel. Within three months, you will make parts you are proud of. Welcome to machining.
FAQ
Is CNC turning difficult to learn?
No. The basics take about 40 hours of practice. Mastering advanced techniques takes longer. But anyone with patience can learn it.
What is the difference between CNC turning and CNC milling?
In turning, the workpiece spins and the tool stays still. In milling, the tool spins and the workpiece stays still. Turning makes round parts. Milling makes flat or irregular shapes.
What material is easiest for a beginner?
Aluminum (6061) or mild steel (12L14). Both cut easily and are forgiving of speed and feed mistakes.
Do I need to know G-code to run a CNC lathe?
You need to read basic G-code to understand what the machine will do. You do not need to write complex code. CAM software handles that.
How do I avoid crashing the machine?
Always dry run every program with no material. Use single-block mode at 10–20% feed override. Check clearances manually before running.
Get projects quote with Moshijia Technology
Ready to turn your designs into real parts? Moshijia Technology provides precision CNC turning for prototypes and production. Upload your CAD file for a free quote. We help beginners and experts alike.